Make Your Own & Craft Supplies

The exact supplies we use at our own craft table, in the order you need them. Every link goes straight to the product we buy.

Bee's picks for clear slime — a base, color, charms, and jars that keep it fresh.

1

Start with a base

Scoop from a ready-made bucket, or mix from scratch with clear glue and activator.

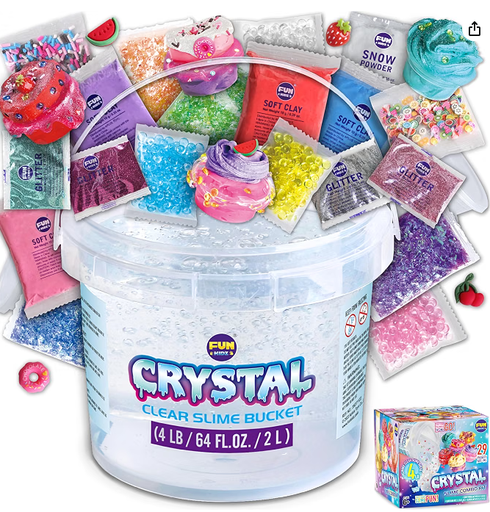
FunKidz Clear Slime Bucket, 4 lb with 29 Add-In Sets

FunKidz Clear Slime Bucket, 4 lb with 29 Add-In Sets

Ready-made clear slime plus mix-ins — scoop and decorate, no measuring.
Amazon
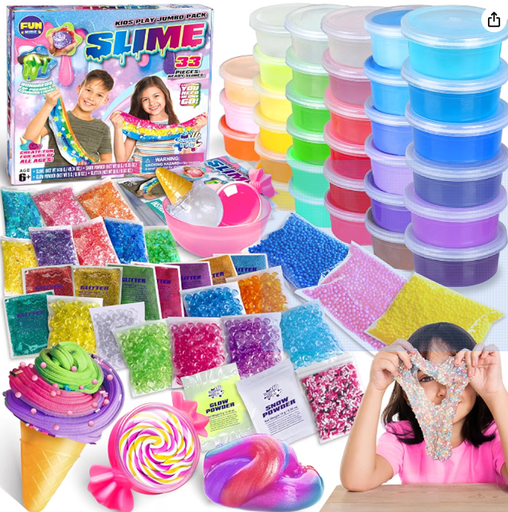
FunKidz Jumbo Slime Kit, 33 Cups (Clear, Butter, Cloud, Glow)

FunKidz Jumbo Slime Kit, 33 Cups (Clear, Butter, Cloud, Glow)

Enough pre-made slime and add-ins for a birthday party or a whole craft club.
Amazon
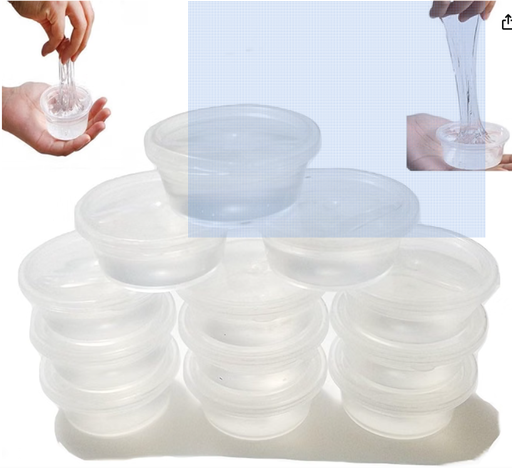
Clear Slime Party Favors, 12 Pack

Clear Slime Party Favors, 12 Pack

Ready-made clear slime in twelve favor-size tubs — no mixing needed.
Amazon
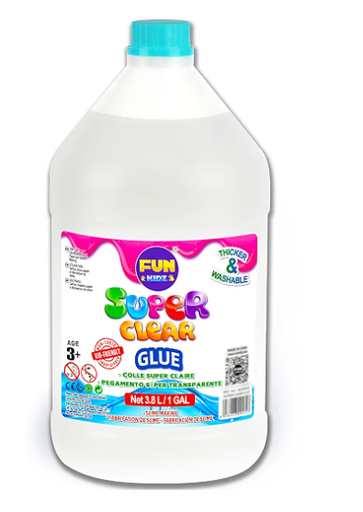
Super Clear Washable Craft Glue

Super Clear Washable Craft Glue

Clear washable PVA glue that gives crystal glass shine when mixed with activator.

Amazon

Elmer's Magical Liquid Slime Activator

Turns glue into stretchy slime a few drops at a time, so it never goes rubbery.

Amazon

Amazon Basics Slime Activator Solution, 1 Quart

A full quart of buffered activator solution — great for a classroom or club batch.

Amazon
2

Add color

A few drops go a long way — these keep clear slime see-through.

Concentrated Soap & Bath Bomb Dye Set

A couple of drops tint a whole batch without clouding clear slime.

Amazon

Non-Toxic Liquid Watercolor Paint, Flip-Top Bottles

Gentle washable color for pastel, see-through shades. Flip tops mean no spills.

Amazon

Metallic Mica Pigment Powders

Metallic mica pigment powders in small bottles for shimmering, light-catching slime.

Amazon
3

Dress it up

Charms, tiny animals, and shimmer are what make a jar worth showing off.

Holographic Chunky Glitter Mix

Chunky holographic glitter shapes that add sparkle without bleeding color.

Amazon

Iridescent Festival Glitter

Iridescent festival glitter for bold, color-shifting slime swirls.

Amazon

Holographic Sparkle Glitter Set

Fine holographic sparkle glitter set for tumbler-style shimmer.

Amazon

Iridescent Tumbler Glitter

Iridescent glitter supplies sized for tumblers and slime jars.

Amazon

Fine Craft Glitter Mix

Fine craft glitter mix for a subtle, even shimmer.

Amazon

Teenzee Mini Animal Figurines, 300 Pieces

Tiny animals to hide in a jar — the surprise kids dig for while they stretch.

Amazon

Piemow Mini Resin Animals, 180 Pieces

Smooth resin critters that wipe clean and never snag the slime.

Amazon

TQBAJ Mystery Aquarium Figures, Individually Wrapped

Sea creatures for ocean jars, wrapped one by one for booth giveaways.

Amazon

Yonseng Dollhouse Miniature Landscaping Pieces

Little plants and scenery bits for building a tiny world inside a jar.

Amazon

LEOBRO Holographic Glitter Keychain Charms

Holographic charms we clip onto finished jars as a little extra sparkle.

Amazon
4

Keep it fresh

Airtight screw-top jars stop slime drying out between play sessions.

Clear Slime Storage Containers, Multi-Pack

Wide screw-top jars sized for one batch — the ones we sell our slime in.

Amazon

Transparent Plastic Storage Containers, Bulk Set

Cheapest per jar — good for classroom kits and group craft days.

Amazon

Kbraveo Clear Slime Storage Jars, 40 Pack

Forty matching jars, so a whole market table looks the same.

Amazon

Crafting with small parts, activators, and cutting tools should always be done with a grown-up.

Studio DIY Guides & Safety Recipes

Our studio-tested techniques, proportions, and safety considerations for parent-supervised maker sessions.

Studio Slime Recipes & Safe Mixing

🧪 The Universal Activator (Make First)

  • •Ingredients: 1 teaspoon Borax powder + 1 cup warm water.
  • •Prep: Stir until completely dissolved and set aside.
💡 PRO TIP: Always add your color and glitter before adding the activator. Once the glue is activated into slime, it becomes too thick and rubbery to blend in coloring or loose glitter evenly.

🍇 Recipe 1: Jelly Slime

Materials: 5 oz Elmer’s Clear Glue, 1/4 cup Instant Snow powder, Water, Food coloring / Glitter.

  1. Step 1 (Snow): Mix 1/4 cup of water with the instant snow powder until it fluffs up.
  2. Step 2 (Base & Color): Stir the clear glue with 2 tablespoons of water. Mix in your color and glitter now.
  3. Step 3 (Activate): Slowly stir in Borax activator, 1 teaspoon at a time, until a stiff slime forms.
  4. Step 4 (Combine): Knead the fluffed instant snow into the slime until it reaches a jelly consistency.

🧈 Recipe 2: Butter Slime

Materials: 5 oz Elmer’s White School Glue, 1 pkg Soft Air-Dry Clay, 1 tbsp Lotion, Food coloring / Glitter.

  1. Step 1 (Base & Color): Stir white glue and lotion together. Mix in your color and glitter now.
  2. Step 2 (Activate): Gradually add Borax activator, 1 teaspoon at a time, until it forms a slightly sticky slime ball.
  3. Step 3 (Clay): Flatten a golf-ball-sized piece of air-dry clay and place it onto the slime.
  4. Step 4 (Knead): Knead until the clay completely blends into a smooth, buttery, spreadable texture.
Skin & Play Safety:Always wash hands before and after play. Store slimes in airtight containers at room temperature. Slimes containing small charms are intended for makers ages 3+ with adult supervision.

Scrunchies: Sewing & Textile Assembly

Materials Needed

  • •Fabric strip: 5 to 6 inches wide by 20 to 26 inches long.
  • •Elastic: 1/4-inch or 3/8-inch wide (usually 7 to 9 inches long).
  • •Tools: Sewing machine, thread, safety pin, and iron.
  1. 1. Prep: Fold and press one short end in by 1/4 inch (wrong sides together).
  2. 2. Roll: Lay fabric right-side up and tightly roll the center lengthwise into a narrow tube.
  3. 3. Encase: Bring the two outer long edges together over the roll and pin (sandwiching the roll inside).
  4. 4. Sew Seam: Stitch the long edge with a 1/4-inch seam, pulling the inner roll through as you go.
  5. 5. Flip: Pull the inner fabric out through an open end to turn the tube right-side out.
  6. 6. Elastic: Thread elastic through the tube using a safety pin, then overlap and stitch the ends securely.
  7. 7. Close: Tuck the raw short end inside the pre-pressed folded end and topstitch the loop closed.
Sewing Safety Tip:Keep fingers safely away from the sewing machine needle. Fasten safety pins completely when threading, and always turn off the iron immediately after pressing.

Pearler Beads: Bookmarks & Fusing

🛠️ Materials & Tools

  • •Perler beads: Plastic melting beads.
  • •Pegboard: Square or interlocking boards work best for long bookmark shapes.
  • •Ironing paper: Parchment paper.
  • •Household iron: Dry setting, no steam.
  • •Heavy book: To keep the bookmark perfectly flat while cooling.
  • •Optional: Tweezers (for precise bead placement).

🔥 Setting & Ironing Instructions

  1. Step 1 (Prep): Preheat your iron to medium heat. Turn off the steam setting completely.
  2. Step 2 (Cover): Place your pegboard on a flat, heat-safe surface. Gently lay a sheet of parchment paper over your finished bookmark design.
  3. Step 3 (Fuse First Side): Press the iron flat onto the paper. Move it in slow, circular motions for 10–20 seconds. Stop when you can see the beads melting together through the paper.
  4. Step 4 (Flip & Remove): Let it cool for a few seconds. Carefully peel away the paper, flip the bookmark over, and gently slide it off the pegboard.
  5. Step 5 (Fuse Second Side): Cover the un-melted side with the parchment paper. Iron it using the same circular motions until the beads fuse securely.
  6. Step 6 (Flatten & Cool): Immediately place a heavy book on top of the hot bookmark. Leave it for 5–10 minutes so it cools completely flat and doesn't warp.
Ironing & Heat Safety:Always operate hot irons with active adult supervision on a heat-safe surface. Allow fused beads to cool completely under a heavy book before handling to prevent warping.